Table of Contents
- Why Massive Images Are Sabotaging Your Small Business
- Stop Using PNGs for Everything
- The Art of Squishing Pixels Effectively
- Telling Google What Your Eyes See
- Size Actually Matters for Website Speed
- Advanced Nerd Tactics for Image SEO
- How to Audit Your Website’s Image Bloat
- Frequently Asked Questions About Image SEO
Key Takeaways
- Uploading massive, unoptimized images directly impacts your Core Web Vitals and can single-handedly tank your search rankings.
- Modern image formats like WebP and AVIF offer significantly better compression than outdated JPEG and PNG files without sacrificing visual clarity.
- Relying on CSS to resize large images is a lazy, performance-killing practice that forces mobile users to download unnecessary data.
- Proper file names and descriptive alt text are non-negotiable SEO signals that help search engines understand the context of your media.
Most website owners treat image uploads like a bottomless digital dumping ground. You hire a professional photographer, they hand over a beautiful folder of massive, twelve-megabyte raw image files, and you upload those pristine, uncompressed behemoths straight to your homepage. It feels great to see high-definition pores on your team’s faces, but behind the scenes, you have just constructed a massive digital roadblock. When your website tries to load these colossal files, it behaves like a sports car trying to tow a commercial cruise ship. Your pages grind to an agonizing halt, frustrating users and signaling to search engines that your website offers a miserable user experience.
The delicate balance between high-quality visuals and blazing-fast loading speeds is where most small business owners spectacularly fail. There is a persistent, completely misguided myth that optimization automatically means turning your crisp photography into a blurry, pixelated mess that looks like it was downloaded on dial-up in 1998. This simply is not true. Modern image optimization is an incredibly sophisticated science of stripping away invisible data that the human eye physically cannot perceive, leaving you with a file that looks visually identical but weighs a fraction of its original size.
Mastering image SEO directly impacts your bottom line by keeping your website fast, engaging, and highly visible in search results. When your images are lean, descriptive, and properly formatted, search engine crawlers can index them rapidly, understand their context perfectly, and serve them to users without delay. This is not just a technical vanity metric for web developers to obsess over in their dark basement offices; it is a fundamental pillar of conversion rate optimization. Every second of delay caused by bloated imagery bleeds potential customers away to your competitors, meaning your failure to squish some pixels is actively costing you money.
Why Massive Images Are Sabotaging Your Small Business
The brutal truth about load times and lost sales
We need to have a serious conversation about the correlation between bloated website load times and vanishing revenue. The modern internet user has the patience of a caffeinated toddler. If your website takes longer than three seconds to load because it is struggling to pull down a panoramic, uncompressed background image, over half of your visitors will simply abandon the page. They will hit the back button and click on your competitor whose website actually respects their time. This phenomenon is known as the bounce rate, and when search engines see a massive spike in users immediately fleeing your site, they assume your content is irrelevant or broken.
This is not a theoretical problem; it is a measurable financial hemorrhage. When you upload a massive, unoptimized image, you are forcing your customer’s browser to download unnecessary megabytes over whatever cellular connection they happen to be using. If they are sitting in a parking lot with two bars of 4G service trying to look up your services, a ten-megabyte header image will stop them dead in their tracks. You can have the most persuasive copywriting in the world and an absolutely flawless product, but if the browser times out before the page renders, your conversion rate will remain permanently stuck at zero.
Balancing visual perfection with Google’s speed obsession
The core conflict in image optimization is the psychological barrier between photographers, designers, and search engines. Photographers want their work displayed in untouched, pristine quality, preserving every microscopic detail of light and shadow. Search engines, on the other hand, care almost exclusively about efficiency and speed. The controversial truth that many creatives refuse to accept is that your end user simply does not care about pixel perfection. They are looking at your website on a smudged, cracked six-inch smartphone screen while waiting in line at a coffee shop. They cannot tell the difference between an uncompressed master file and a highly optimized image.
The goal is to find the exact threshold where file size is drastically reduced without causing any visible degradation to the average human eye. This is where you stop agonizing over theoretical quality loss and start prioritizing the user experience. A website that loads instantly with an image that is ninety-five percent perfect will out-convert a website that takes ten seconds to load an image that is one hundred percent perfect every single time. Stop prioritizing vanity over velocity.
Core Web Vitals and why LCP actually matters
If you want to understand exactly how Google measures your website’s performance, you need to familiarize yourself with Core Web Vitals. This is a set of specific, standardized metrics that Google uses to evaluate user experience, and they are notoriously brutal on unoptimized images. The most critical metric in this trio is Largest Contentful Paint, commonly referred to as LCP. This metric measures the exact moment when the largest single piece of content on the user’s screen becomes fully visible and readable.
In almost every single modern web design, the largest piece of content is a massive hero image at the top of the page. If that image is bloated, your LCP score will tank into the red zone. This is why ignoring Core Web Vitals will tank your small business SEO. Google openly uses these metrics as a ranking factor, meaning a poor LCP score directly results in a demotion in search results. Fixing your hero image by properly optimizing and compressing it is often the single most impactful action you can take to move your Core Web Vitals from failing to passing.
Stop Using PNGs for Everything
WebP and AVIF are the new undisputed champions
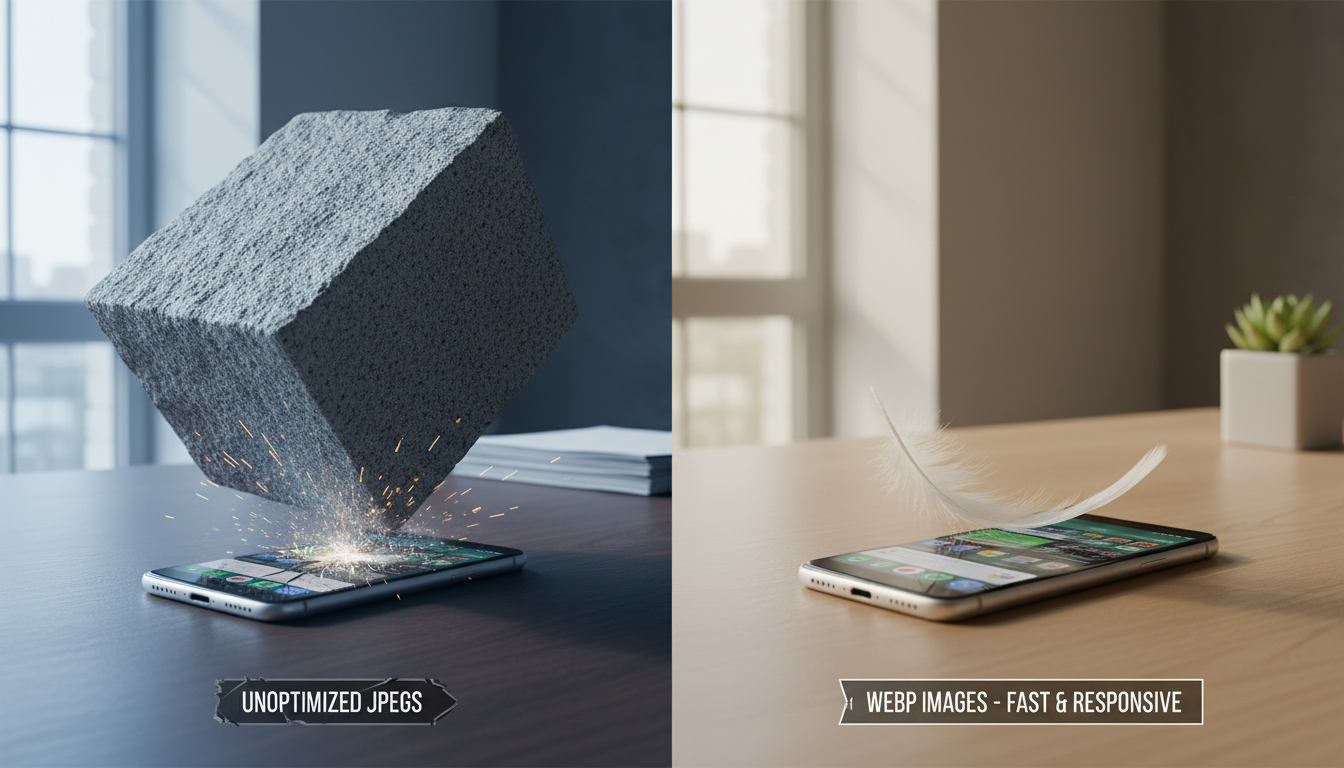
For decades, web designers relied entirely on standard JPEGs and PNGs to build the visual web. Those days are officially over. The modern undisputed champions of image optimization are next-generation formats, specifically WebP and AVIF. WebP was developed by Google specifically to replace both JPEGs and PNGs, offering incredible compression algorithms that routinely shrink file sizes by thirty percent or more compared to legacy formats, while maintaining the exact same visual fidelity.
AVIF goes even further. It is a wildly powerful, modern image format derived from video compression technology that produces stunningly crisp images at microscopic file sizes. According to the Mozilla Developer Network, AVIF offers significantly better compression than WebP in almost all scenarios. If you are serious about website speed, transitioning your entire media library to these next-generation formats is no longer an optional best practice; it is a fundamental requirement for modern SEO.
When to actually use JPEG and PNG
Despite the dominance of next-generation formats, legacy file types still have their specific, highly restricted use cases, and understanding the difference is crucial. JPEGs were designed specifically for complex, high-color photographs. They handle gradients and natural shadows reasonably well but do not support transparency. PNGs, on the other hand, are the most abused file format on the internet. People use them for photographs, resulting in monstrously huge files that paralyze web browsers.
The golden rule of the PNG format is that it should strictly and exclusively be used when you absolutely require a transparent background—and even then, only when you cannot use a transparent WebP. If you are uploading a standard photograph of your office space as a PNG file, you are committing a digital crime against your own website. Reserve PNGs for complex graphical overlays, and use JPEGs only as fallbacks for ancient web browsers that somehow cannot interpret modern formats.
SVG secrets for razor-sharp logos and icons
When it comes to simple graphics, logos, and iconography, you should abandon pixel-based formats entirely and embrace the Scalable Vector Graphic, or SVG. Unlike standard images, which are essentially grids of colored squares, SVGs are literal mathematical equations rendered in XML code. Because they are math rather than pixels, an SVG file will remain infinitely razor-sharp whether it is displayed on a tiny mobile screen or projected onto a massive billboard, all while maintaining a file size measured in tiny kilobytes.
This makes SVGs the absolute ultimate weapon for high-performance web design. You can replace heavily bloated PNG logos and navigation icons with crisp, instant-loading SVGs to shave precious load time off your pages. However, because SVGs are technically lines of code rather than standard image files, they must be properly sanitized before uploading to prevent malicious scripts or security vulnerabilities from infiltrating your server structure.
The Art of Squishing Pixels Effectively
Lossless vs. lossy compression explained simply
The actual act of compressing an image generally falls into two distinct categories: lossless and lossy. Lossless compression is essentially a highly efficient digital filing system. It rearranges the hidden metadata and structural information of the file to make it smaller without actually removing a single pixel of visual data. It is safe, but it rarely results in the dramatic file size reductions needed for optimal web speed.
Lossy compression, on the other hand, is the heavy artillery of web optimization. As detailed extensively by Wikipedia’s guide on compression algorithms, lossy methods work by aggressively identifying and permanently deleting data that the human eye is incapable of distinguishing. It groups similar colors together and strips out microscopic variations in shading. While purists might recoil at the idea of permanently destroying data, lossy compression is unequivocally the smarter choice for web images. It provides massive, ninety-percent file size reductions with visual differences so minute they require zooming in three hundred percent just to notice.
The best idiot-proof compression tools
You do not need to be a command-line wizard or own expensive software to aggressively compress your images before uploading them. There is an entire industry dedicated to browser-based, idiot-proof compression tools that do the heavy lifting for you. A perennial favorite is TinyPNG, which uses smart lossy compression techniques to automatically reduce the file size of your webp, jpeg, and png files by selectively decreasing the number of colors in the image. You drag the file into your browser, it strips the fat, and you download the optimized version.
For users who want more granular control, Squoosh, built by the Google Chrome Labs team, is an absolute masterpiece. It provides a real-time slider that allows you to compare your original massive image against the compressed version visually. You can dial down the quality percentage point by point until you visually notice a flaw, allowing you to perfectly balance quality and file size. For desktop-based bulk processing, ImageOptim remains a fantastic, lightweight tool that silently strips out EXIF data and unnecessary color profiles before you even open your browser.
Automating the squeeze with WordPress plugins
If manual compression sounds like a tedious nightmare you will inevitably forget to do, you need to rely on server-side automation. If you are operating on a standard CMS, optimizing images for SEO on WordPress has never been easier thanks to an array of highly aggressive optimization plugins. These tools intercept your images the exact second you upload them, fire them off to external servers to be squeezed, converted into next-generation formats, and injected back into your media library completely automatically.
Plugins like Smush or EWWW Image Optimizer provide a “set it and forget it” infrastructure that protects your site from human error. When you hire a new intern who inevitably tries to upload a massive raw file to your blog, the plugin acts as a bouncer, aggressively shrinking the file before it can cause any damage to your site speed. Automated optimization is the ultimate safety net for busy business owners who cannot afford to police every single media upload manually.
Telling Google What Your Eyes See
Why IMG_9942.jpg is a crime against SEO
Search engine crawlers are brilliant, but they do not possess actual human eyeballs. When Google’s bot crawls your website, it relies heavily on the contextual clues you provide to understand what an image is actually depicting. The absolute first clue it looks at is the raw file name. Uploading an image named IMG_9942.jpg is a massive wasted opportunity and a fundamental crime against foundational SEO. That string of numbers provides literally zero context to the crawler about the content of the media.
Before you upload anything to your server, you must rename the file using descriptive, hyphen-separated keywords. If you are a physical therapy clinic, renaming that generic file to “lower-back-pain-rehabilitation-stretch.webp” spoon-feeds Google exact context. You are explicitly telling the algorithm exactly what the image represents, which dramatically increases the likelihood of that image ranking in Google Image Search and provides highly relevant contextual signals to the written content on the page.
Writing alt text for humans and bots
The single most important attribute associated with your image is the Alternative Text, commonly referred to as the alt tag. This is the text that screen readers speak aloud to visually impaired users, and it is the exact text that Google uses to definitively categorize your image. Writing good alt text requires walking a fine line between descriptive accessibility and semantic relevance. You want to describe the image exactly as you would to someone on a telephone, without succumbing to the amateur temptation of keyword stuffing.
A terrible alt text looks like this: “best physical therapist near me physical therapy clinic back pain relief.” That is spam, and Google will treat it as such. A perfectly optimized alt text looks like this: “A female physical therapist assisting an elderly patient with a lower back stretching exercise on a therapy table.” This description is highly accessible, naturally includes relevant semantic phrasing, and perfectly frames the context of the image for search algorithms without looking malicious.
The hidden power of image captions and titles
While file names and alt text are primarily structural signals for bots and accessibility tools, image captions hold immense power over actual human behavior. Studies consistently show that captions under images are one of the most frequently read pieces of text on any given webpage, often read even before the main body paragraphs. A well-crafted caption keeps the user engaged, drastically increases time on page, and provides a brilliant opportunity to naturally weave in contextual keywords that reinforce your page’s overall topical authority.
It is also vital to understand the difference between alt text and title attributes. The title attribute is the text that appears as a small tooltip when a user hovers their mouse cursor over an image. While John Mueller from Google has previously stated that the title attribute holds almost zero direct SEO ranking weight, it serves as a highly effective micro-interaction that enhances the user experience. Anything that improves user experience indirectly supports your broader SEO goals by reducing frustration and clarifying intent.
Size Actually Matters for Website Speed
Stop relying on CSS to shrink gigantic uploads
One of the most destructive and incredibly lazy practices in modern web design is uploading a gigantic image file and using HTML or CSS rules to force it to display in a tiny box. If you upload an image that is four thousand pixels wide, but instruct your website code to display it at a width of three hundred pixels in a sidebar widget, the browser still has to download the entire four thousand pixel, twelve-megabyte file before mathematically shrinking it down to fit the designated space.
This practice is catastrophic for mobile users and entirely defeats the purpose of image optimization. You must resize your images to the exact maximum display dimensions required by your site design before you compress and upload them. If your blog column has a maximum width of eight hundred pixels, there is absolutely zero logical reason to upload an image wider than eight hundred pixels. Cropping and scaling at the server level ensures you are only ever serving the exact amount of visual data necessary.
Serving responsive images with srcset attributes
We live in a multi-device world where users access your website from massive 4K desktop monitors, standard laptops, tablets, and a dizzying array of tiny smartphone screens. Serving the exact same image file to all of these devices is incredibly inefficient. The solution to this problem is an HTML attribute called `srcset`. This brilliant piece of code allows you to upload multiple sizes of the exact same image and provides the browser with a specific set of instructions on which version to pull down based on the user’s screen size.
When `srcset` is implemented correctly, a user on a massive desktop monitor will be served the high-resolution, wide-format image necessary to fill their screen. Meanwhile, a user on a tiny mobile phone will be automatically served a heavily scaled-down, tightly cropped version of that exact same image that weighs significantly less. This ensures that mobile users are not punished with massive data downloads, keeping your mobile loading times blazing fast and protecting your mobile-first indexing status in Google.
Lazy loading to fake a faster website
If you have a long-form article featuring twenty different high-quality images, forcing the browser to download all twenty of those images the second the page opens will create an agonizing bottleneck. The solution is lazy loading. Lazy loading is a technique that essentially fakes a faster website by delaying the loading of any images that are currently off-screen. If an image is located way down at the bottom of the page, the browser simply ignores it until the user begins to scroll down toward it.
Historically, implementing lazy loading required complex, heavy JavaScript libraries that sometimes caused more problems than they solved. Today, modern web browsers support native lazy loading simply by adding the `loading=”lazy”` attribute directly to your HTML image tags. It is a wildly simple, completely free, and incredibly powerful method to artificially boost your initial page load times and drastically improve the perceived speed of your website for the end user.
Advanced Nerd Tactics for Image SEO
Spoon-feeding Google with dedicated image sitemaps
If you run an e-commerce store with thousands of product photos, or a massive visual portfolio, you cannot simply cross your fingers and hope Google’s crawlers find every single image buried deep within your category architecture. You need to spoon-feed them a highly structured map of your media assets. This is accomplished by generating a dedicated XML image sitemap. This specialized sitemap provides search engines with a direct list of every critical image URL on your domain, bypassing your complex site navigation entirely.
Image sitemaps are particularly crucial if your website uses heavy JavaScript frameworks to load visual content, as standard crawlers sometimes struggle to execute and render dynamic galleries. By providing a clean, easily parsable XML file directly inside Google Search Console, you guarantee that search engines are explicitly aware of your media assets, drastically increasing the speed at which your new visual content is indexed and ranked in image search results.
Stealing rich snippets using structured data markup
If you want your images to stand out in a fiercely competitive search environment, you must learn how to communicate in a language search engines natively understand: structured data. Implementing schema markup around your images transforms them from generic visual blocks into highly contextual data entities. For example, using schema markup can flag a specific image as the primary visual representation of a local business, a recipe, or a specific product for sale.
When Google identifies product schema applied to an image, it suddenly becomes eligible for highly coveted rich snippets in image search. Users browsing Google Images might suddenly see a prominent “Product” badge overlaid on your image, complete with current pricing and stock availability right there in the search interface. This advanced level of contextual markup dramatically increases your click-through rates by providing users with critical purchasing data before they even click onto your website.
Offloading the heavy lifting to a CDN
Hosting all of your optimized images on a single physical server in New York is fine if all of your customers live in New York. But if a potential client in London tries to load your website, those image files have to physically travel across oceanic cables to reach their browser, resulting in inevitable latency. To truly optimize your media delivery at scale, you need to offload the heavy lifting to a Content Delivery Network, or CDN.
A powerful CDN like Cloudflare takes your perfectly optimized images, duplicates them, and stores them on dozens of ultra-fast proxy servers located in data centers all over the planet. When a user requests your website, the CDN instantly serves the images from the server geographically closest to them. This dramatically reduces latency, takes a massive load off your primary web host, and ensures your visual content is delivered with blistering speed regardless of where your audience is located.
How to Audit Your Website’s Image Bloat
Exposing bottlenecks using Google PageSpeed Insights
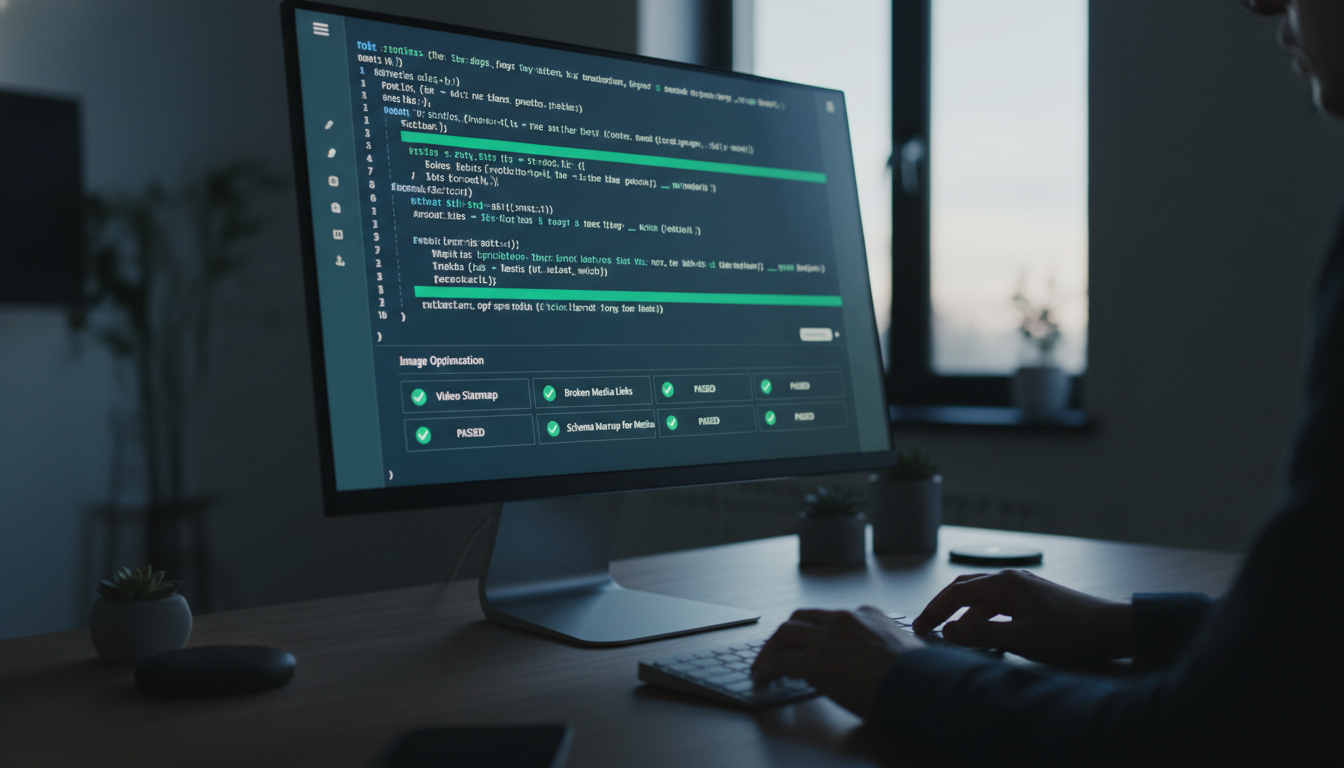
The first step to fixing a broken system is identifying the specific points of failure. The most authoritative tool for this job is Google PageSpeed Insights. When you run your URL through this free diagnostic tool, Google will literally expose every single bottleneck dragging down your performance. It strips away the guesswork and provides a highly specific, color-coded list of exactly which images are causing the most damage to your loading times.
Pay close attention to the specific warning flags it generates. If you see glaring red alerts screaming “Serve images in next-gen formats” or “Properly size images,” the tool is literally handing you a specific blueprint for improving your Core Web Vitals. It will tell you exactly how many milliseconds of load time you will save by converting that bloated PNG into a WebP file. It is the ultimate reality check for business owners who assume their website is fast just because it loads quickly on their own cached office network.
A step-by-step routine to audit existing media
You cannot tackle years of unoptimized media uploads without a structured, ruthless auditing routine. To perform a comprehensive sweep of your domain, utilize a highly technical crawling tool like Screaming Frog SEO Spider. This tool acts exactly like a search engine bot, crawling every single page of your site and generating a massive spreadsheet detailing the specific metadata of every image it encounters.
Filter the resulting data aggressively. Sort the list to flag any image file exceeding one hundred kilobytes, as these are your primary targets for immediate lossy compression. Next, filter the data to expose any images entirely missing alternative text. This methodical workflow transforms an overwhelming, site-wide mess into a highly actionable, prioritized checklist of straightforward tasks. You locate the bloated file, download it, compress it using a web tool, write descriptive alt text, and re-upload it to overwrite the bad data.
Fixing the most common image SEO disasters
As you comb through your audit data, you will inevitably encounter the three horsemen of image SEO disaster: massive uncompressed file weights, completely missing alt attributes, and bizarre aspect ratios forced into submission by CSS. Fixing these requires discipline. If an image is too large, run it through Squoosh. If it lacks alt text, analyze the page context and write a descriptive sentence.
If you discover an image is displaying with a squished, distorted aspect ratio, it means the natural dimensions of the image are clashing with your website’s container code. The fix is to physically crop the master image to match the precise aspect ratio required by your site’s layout before you even attempt to upload it. Addressing these three prevalent disasters systematically will rapidly pull your website out of the performance gutter and signal to Google that you run a highly maintained, technically sound digital property.
Frequently Asked Questions About Image SEO
Can I just steal images from Google for my blog?
Absolutely not. Doing so is a direct violation of copyright law and a fantastic way to receive a financially devastating demand letter from a corporate legal team. Search engines are incredibly adept at recognizing duplicated, stolen imagery. Use reputable stock photo sites, or better yet, invest in original, high-quality photography that accurately represents your specific business and team to build genuine trust with your audience.
Does EXIF data or geotagging actually help local SEO?
This is a highly controversial topic among digital marketers. While some local SEO practitioners swear by the practice of injecting local coordinates into an image’s hidden EXIF data before uploading it to a Google Business Profile, Google representatives have explicitly stated that they strip EXIF data for privacy reasons and do not use it as a direct ranking signal. Focus your energy on descriptive file names and hyper-relevant surrounding text rather than obsessing over hidden geolocation tags.
How do I optimize background images and sliders?
The absolute best optimization strategy for a massive, full-width homepage image slider is to delete it entirely. Sliders are notorious conversion killers that drag down site speed while hiding your best content. If you must use a large CSS background image, you must compress it ruthlessly using lossy compression, save it as a highly optimized WebP file, and ensure you are using media queries in your stylesheet to serve a much smaller, distinct background image exclusively for mobile devices.
How do responsive images improve SEO and user experience?
Responsive images dynamically adapt to the physical size of the screen requesting them. By serving a tiny file to a mobile phone and a large file to a desktop computer, you drastically reduce the sheer volume of data mobile users are forced to download. This directly improves your mobile Core Web Vitals, reduces your bounce rate by keeping impatient users engaged, and proves to search engines that your website offers a highly optimized, platform-agnostic user experience.
Book a free consultation for your practice today.